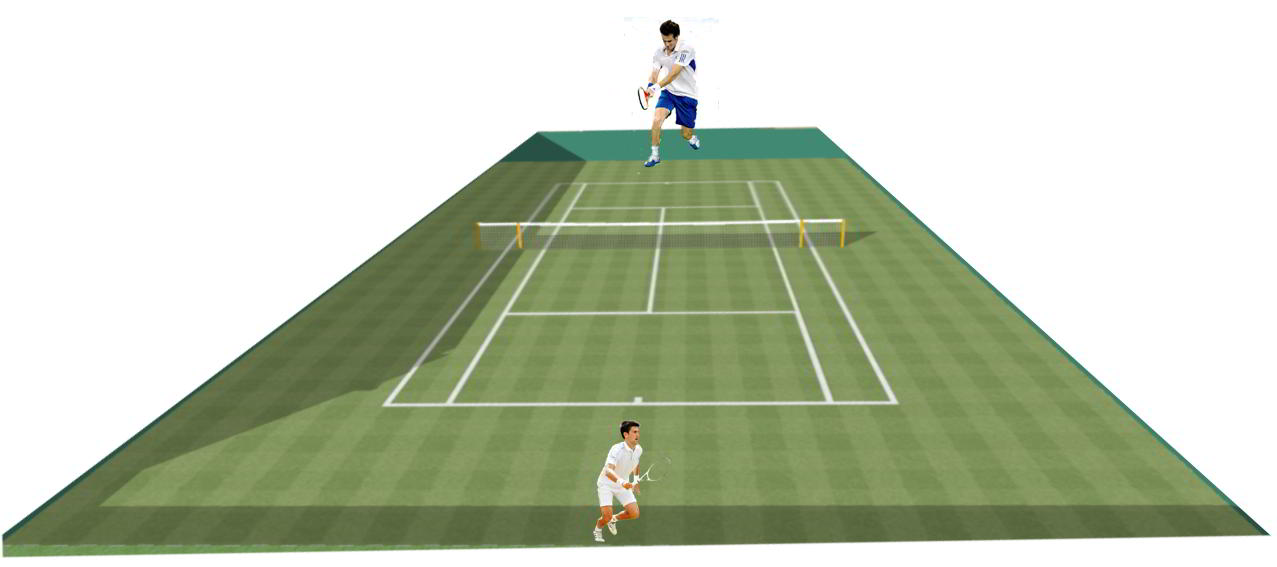
Below you will find unique diagrams that I have made thanks to my knowledge as an engineer. All court positions are mathematically proven.
Here we offer some tennis court diagrams for the player’s position when he/she plays from each of the different subzones. You will also find recommended positions for the player after he/she has played the ball in the shown direction.
In all diagrams:
– X is the point where player hits the ball;
– Y is the position where the player has to wait for the ball from point X.
Recommended positions:
1. The ball is in the center of the court (X).
In this case, the best waiting position for the player must be at the center (Y).
2. The ball is located in the corner of the court (X).
The player’s best position is about 90 cm (3 feet) from the center of the opposite half of the court (Y).
3. The ball is located 2 meters (6 feet) from the single sideline (X).
The player must be on position about 135 cm (4-5 feet) from the center of the court in the opposite half (Y).
4. When the player who serves is about 1 m (3 feet) from the center of the court.
The position of the player who receives the ball should be about 1.10 m (3 – 4 feet) from the single sideline of the court.
5. When a player serves from the corner of the single court (X).
The player who receives the serve has to be at the corner of single game court (Y).
6. When the ball is at the corner of the single court or in the alley.
Recommended direction for the ball is cross court (in the scheme colored in blue) because:
– The zone is greater, allowing a non-precision shot and after the stroke the player X can quickly move into the next recommended position on the court (again colored blue), which allows him/her to cover the maximum portion of his/her half of the court.
Rights (indicated in red in the second diagram) can be played in two cases – firstly, when a player who receives the ball Y is not in the position where it should be (for example is on Y1), and is standing near the corner of the court on the opposite half and, secondly, to use the element of surprise. The diagram indicates in red where the player has to move after s/he has played into the red zone. This position is about 2 m (6 – 7 feet) from the position where the player had played cross court.
7. In this diagram, the recommended ball directions are shown and the zones from the right side when the player is in zone A2 and from the left side are symmetrical.
8. The diagram below shows the recommended zones for when the ball is played from the central part of the court – A2.
From this position it is better to play deep balls cross court and closer to the baseline.
9. From the shown sub zone it is most important to play the ball in the direction and/or manner so that, after the stroke is made the player has time to go to the next position on the court.
What does this mean? It means the player has to place the ball far away from the opponent in order to have time to move to the next position. From this position the player should never play the ball close to his/her opponent. The position shown in bue on the diagram shows recommended zones of where to place the ball from this position.


Leave a comment
Your email address will not be published. Required fields are marked *